To Add Projects to your Manufacturing website:
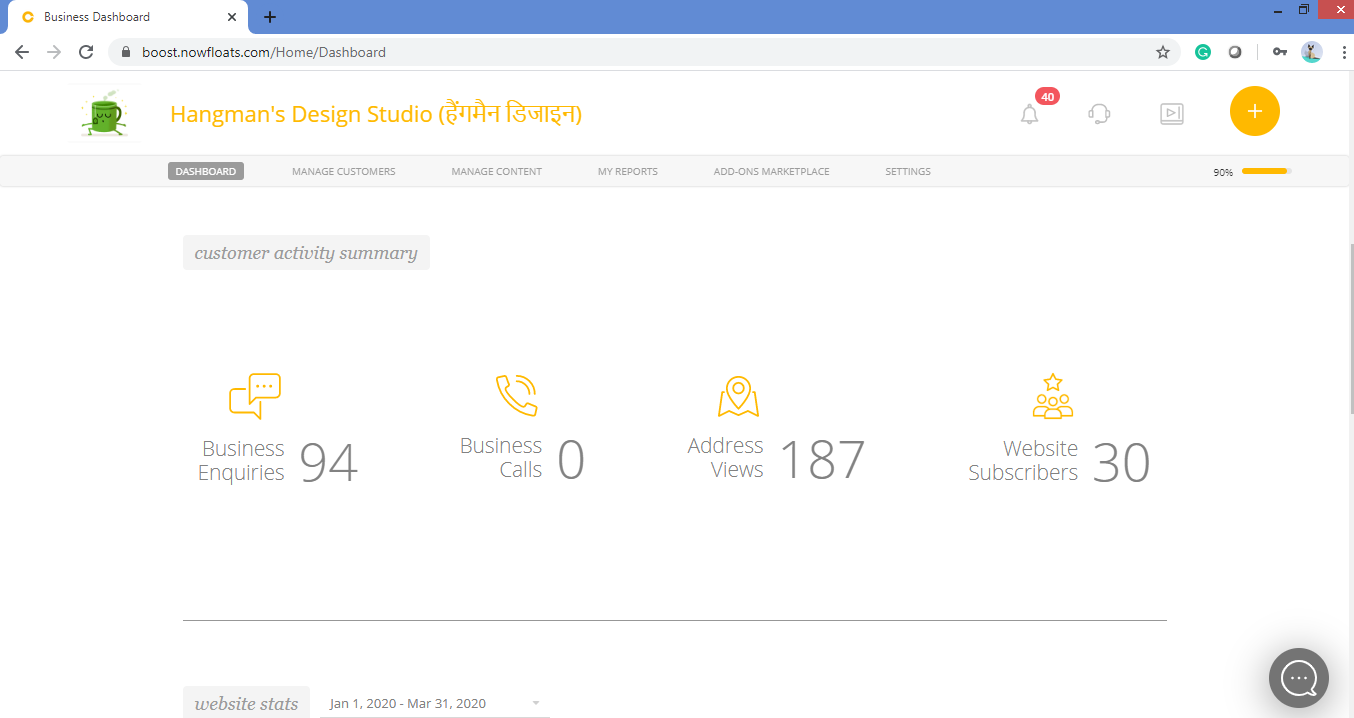
1. Go to your dashboard.
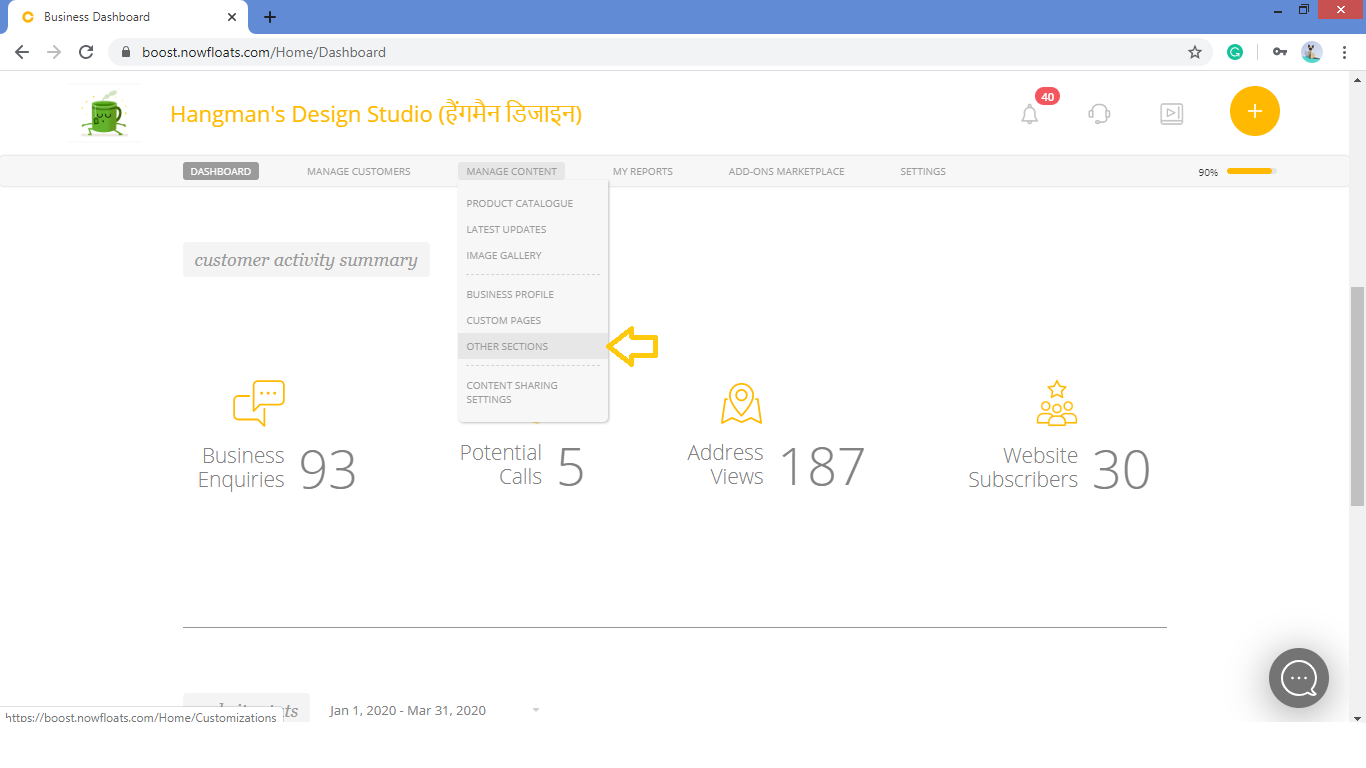
2. Go to Manage Content in the header menu and click on Other Sections.
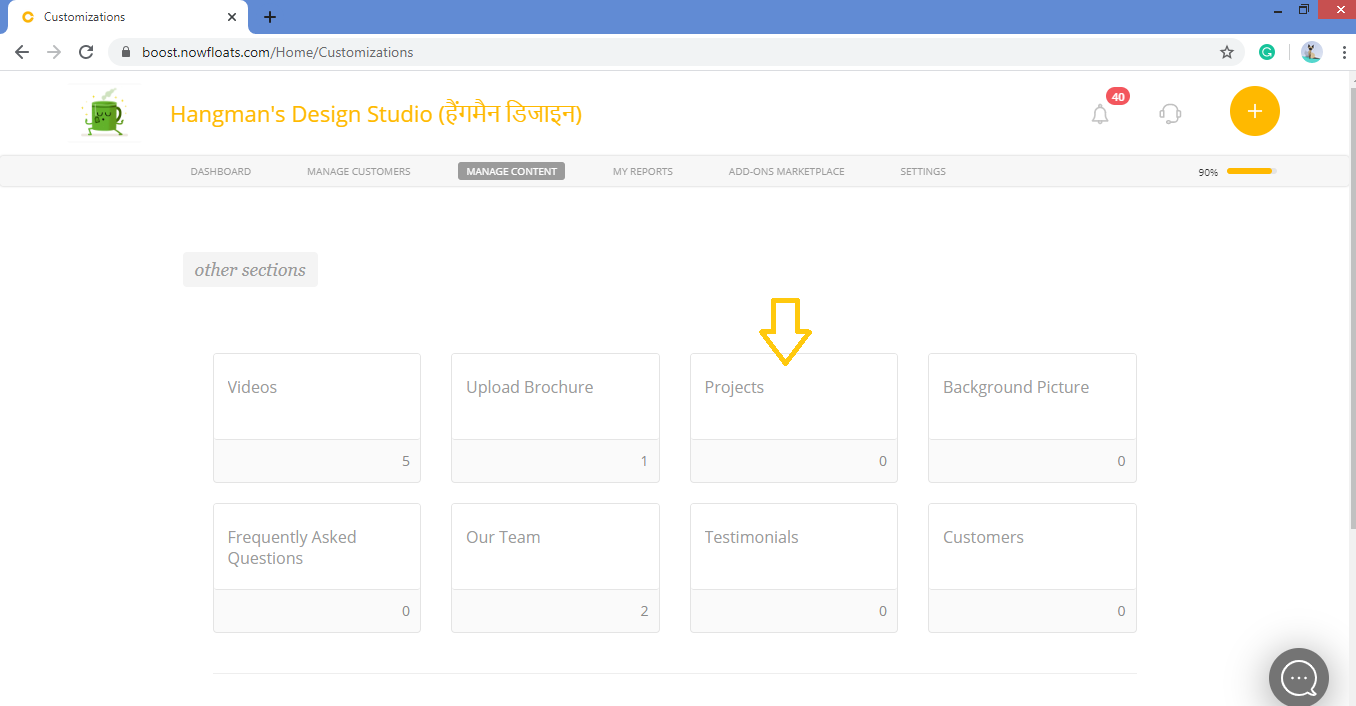
3. Look for the Projects card and click on it.
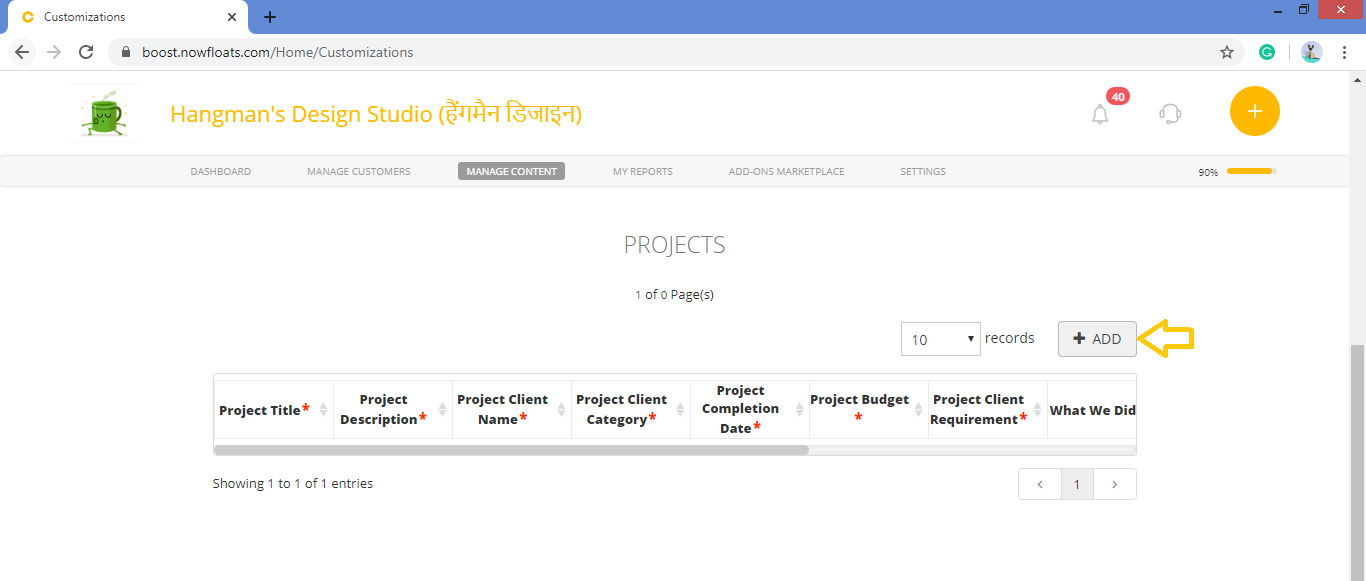
4. Scroll down to see the Projects section.
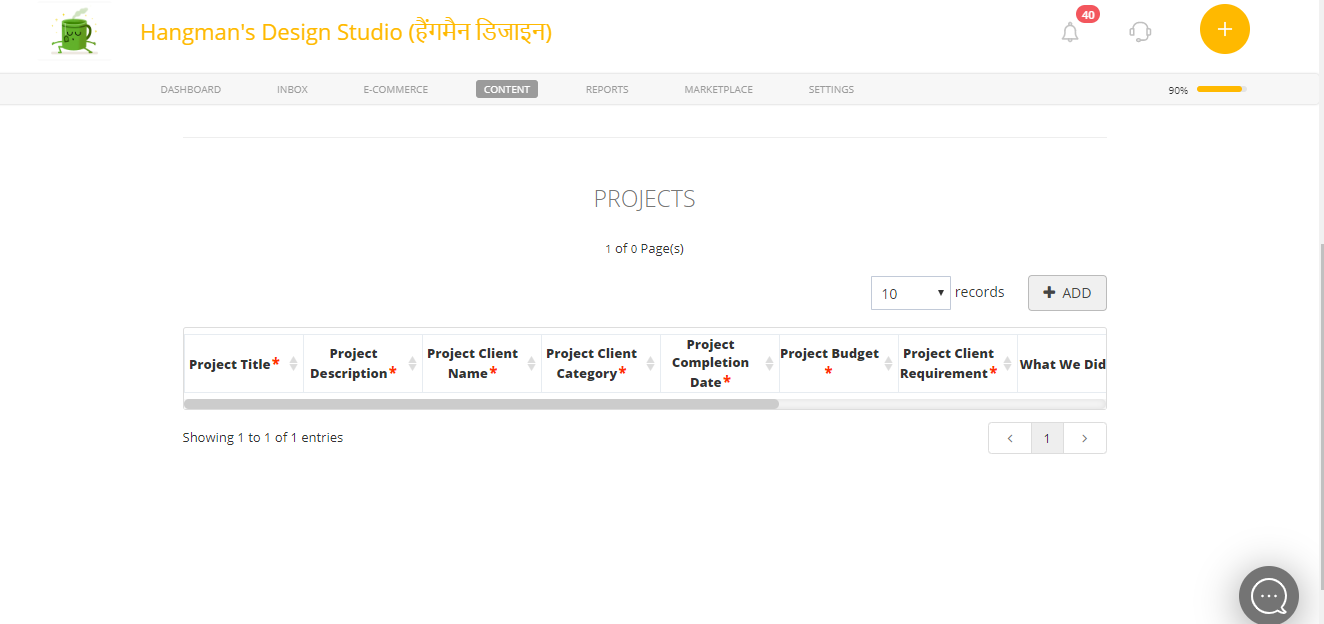
5. Click +ADD.
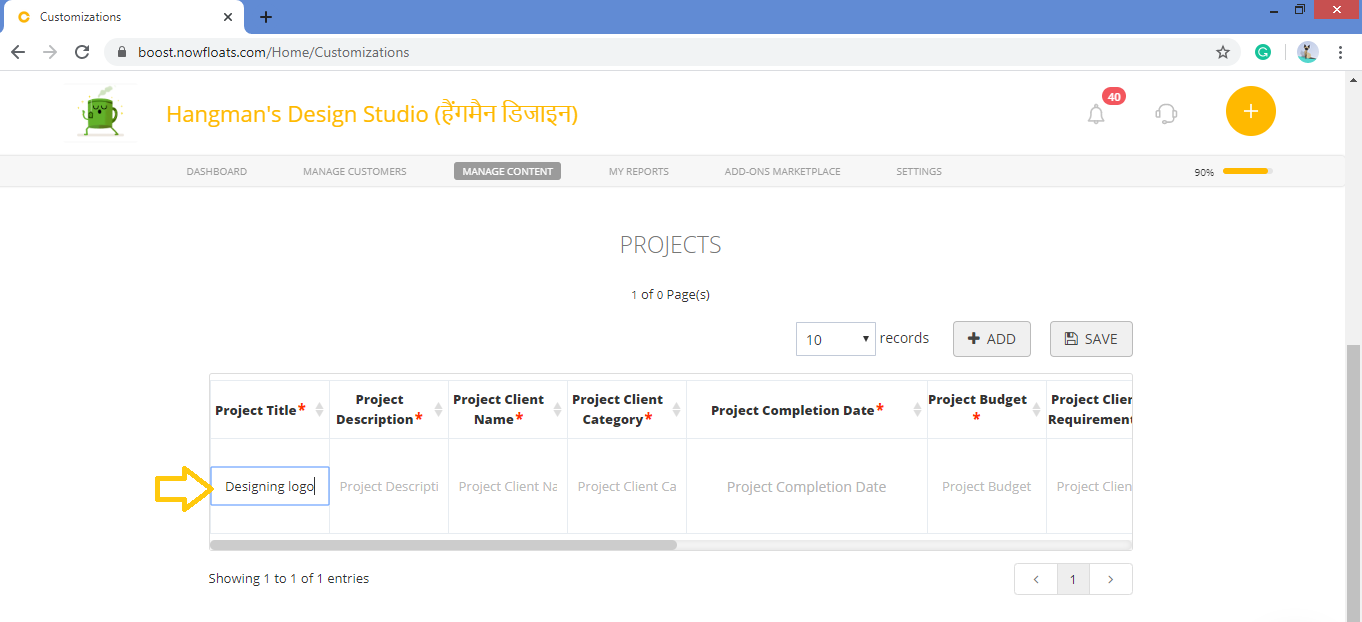
6. In the Project Title box, enter the Title of the Project.
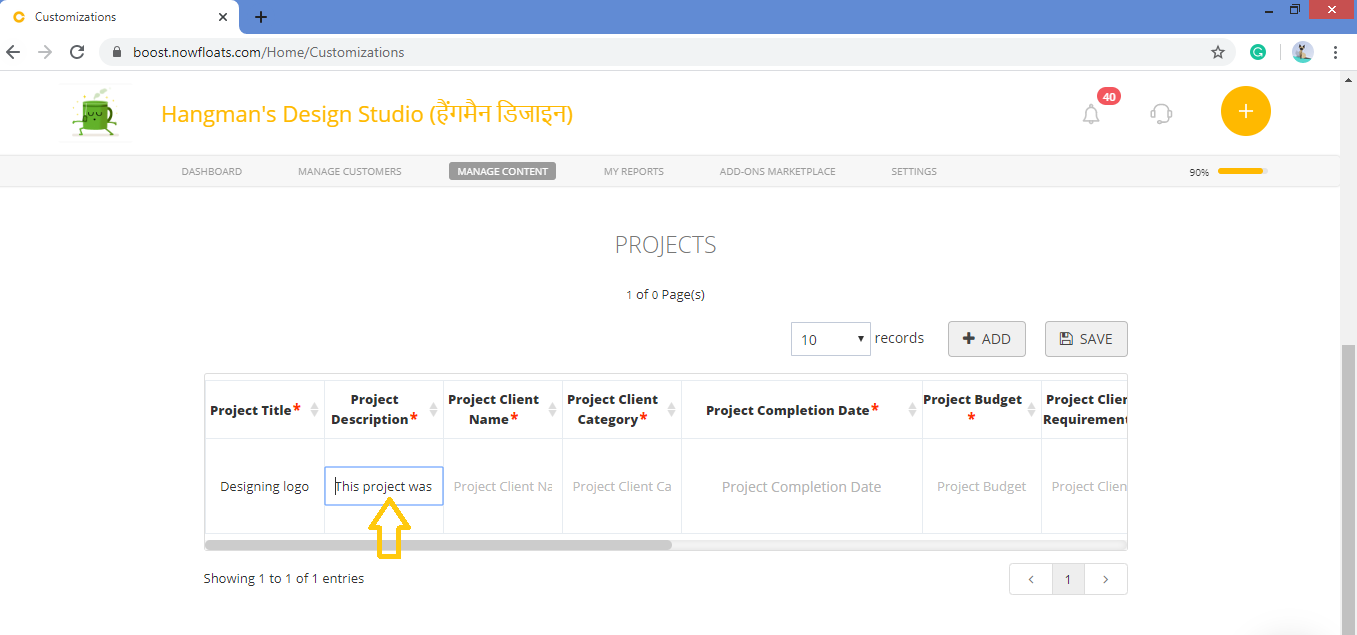
7. In the Project Description box, enter the description of your project.
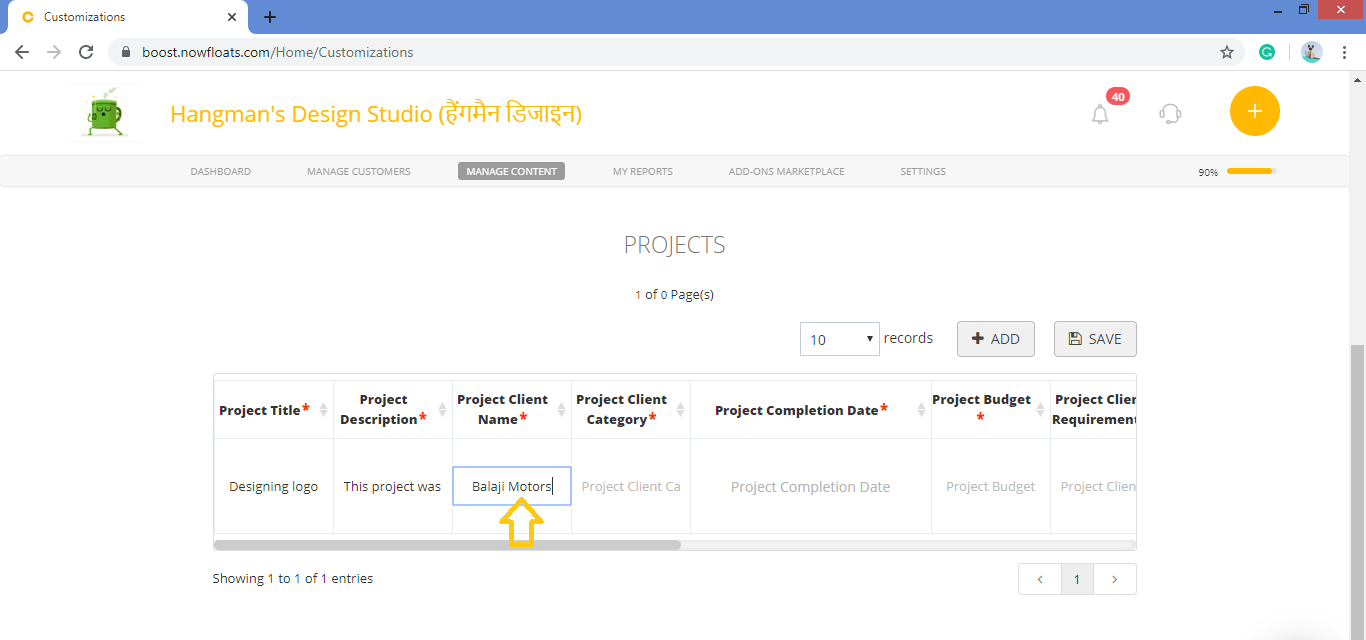
8. In the Project Client Name box, enter client name for the project.
9. In the Project Client Category box, enter the category of the client.

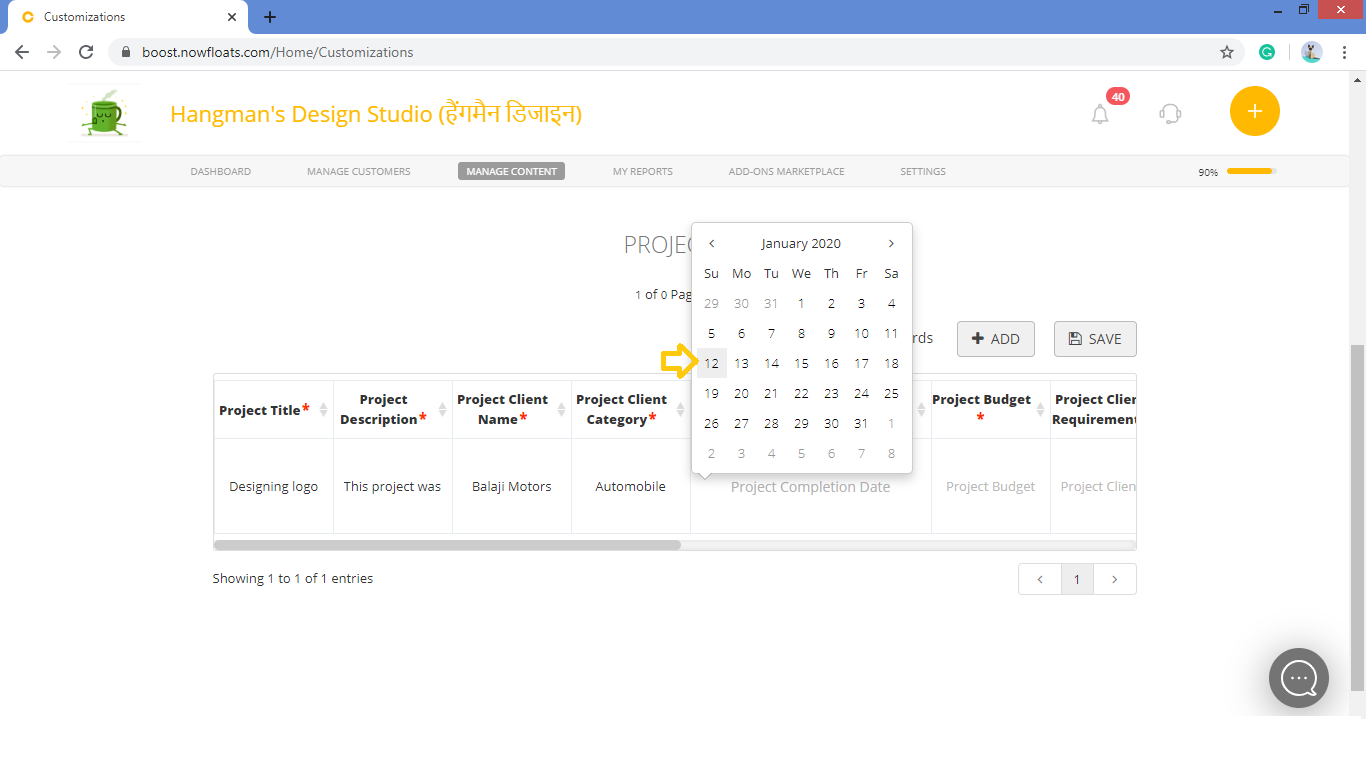
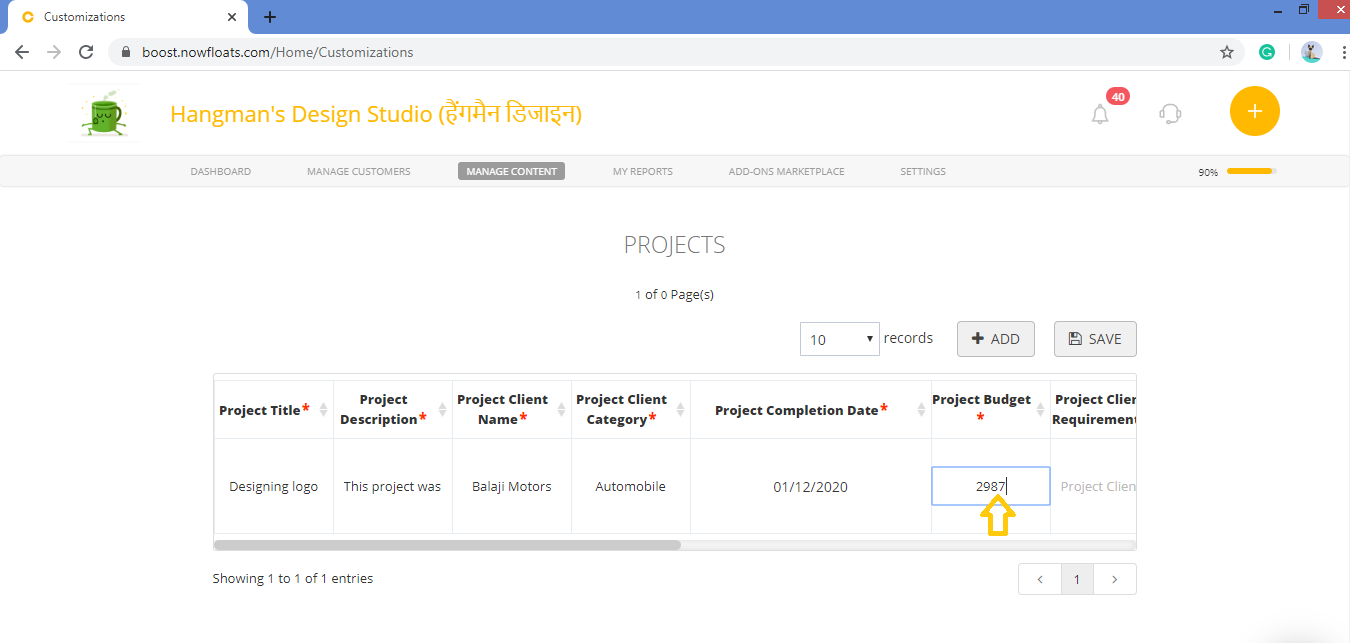
10. In the Project Completion Date box, enter the completion date of the project.
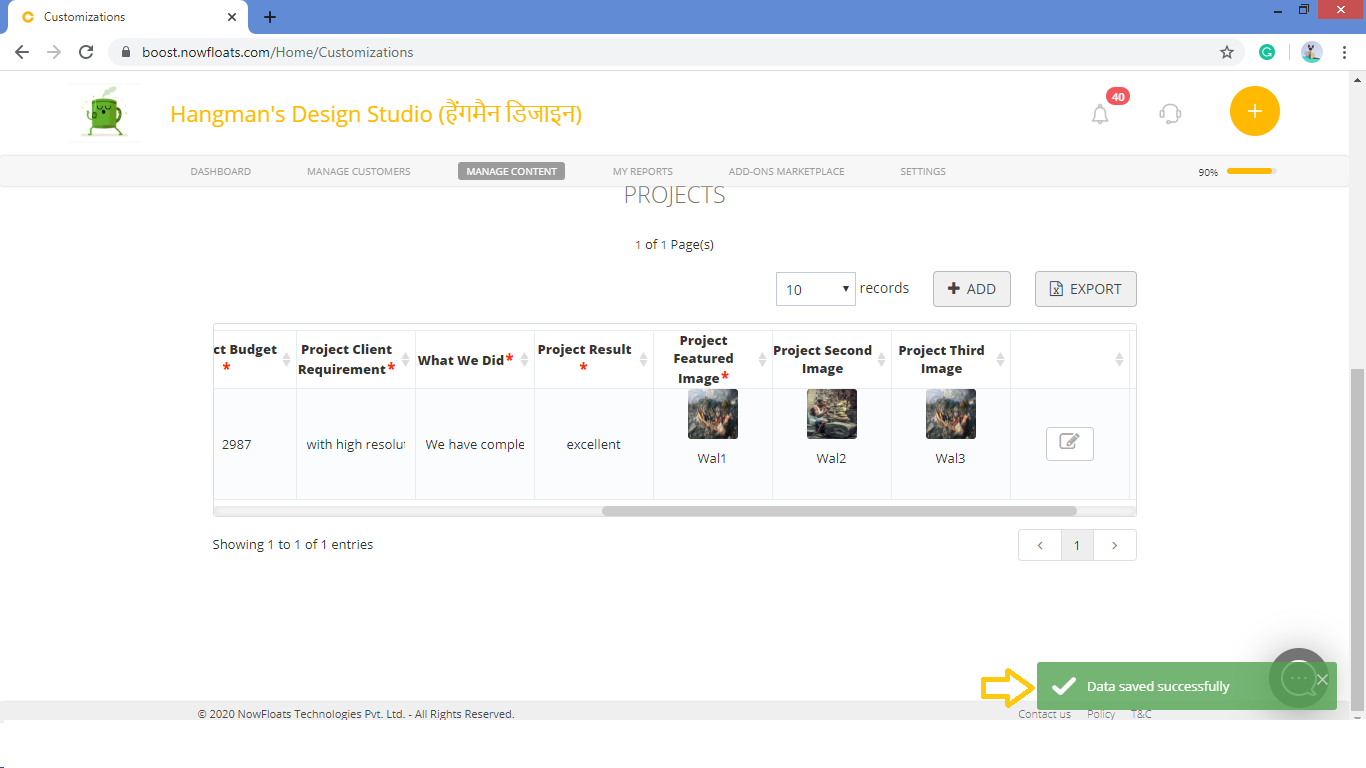
11. In the Project Budget box, enter budget of the project.
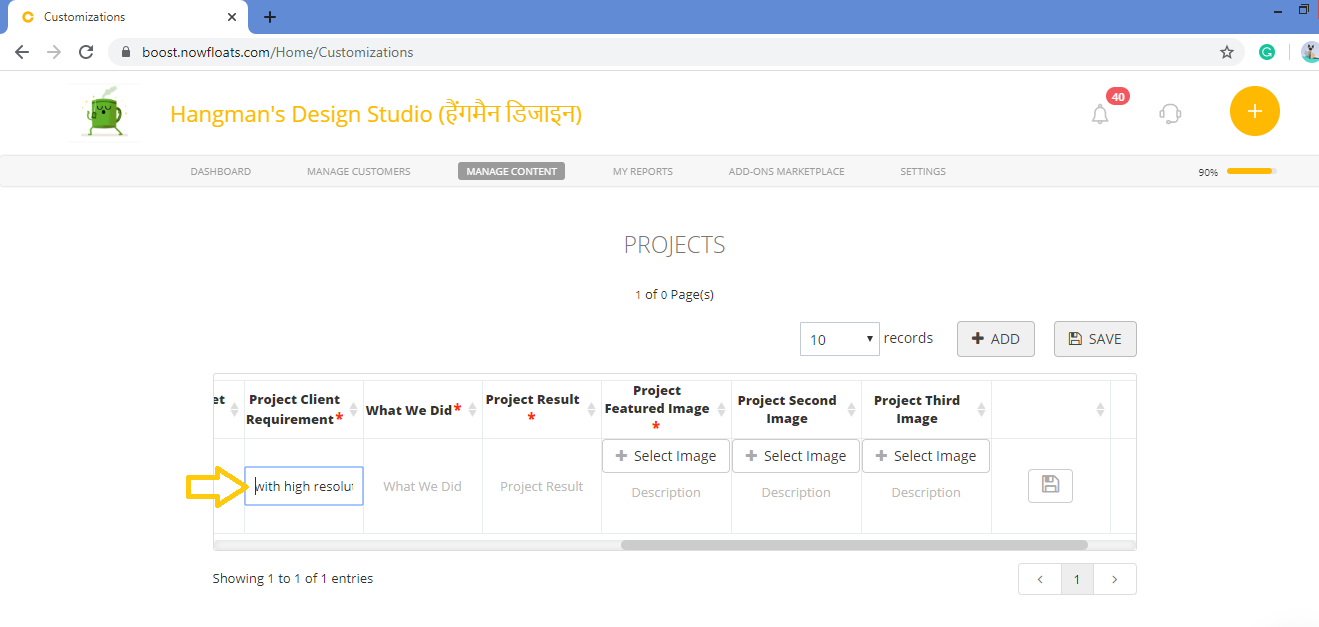
12. In the Project Client Requirement box, enter client requirements.
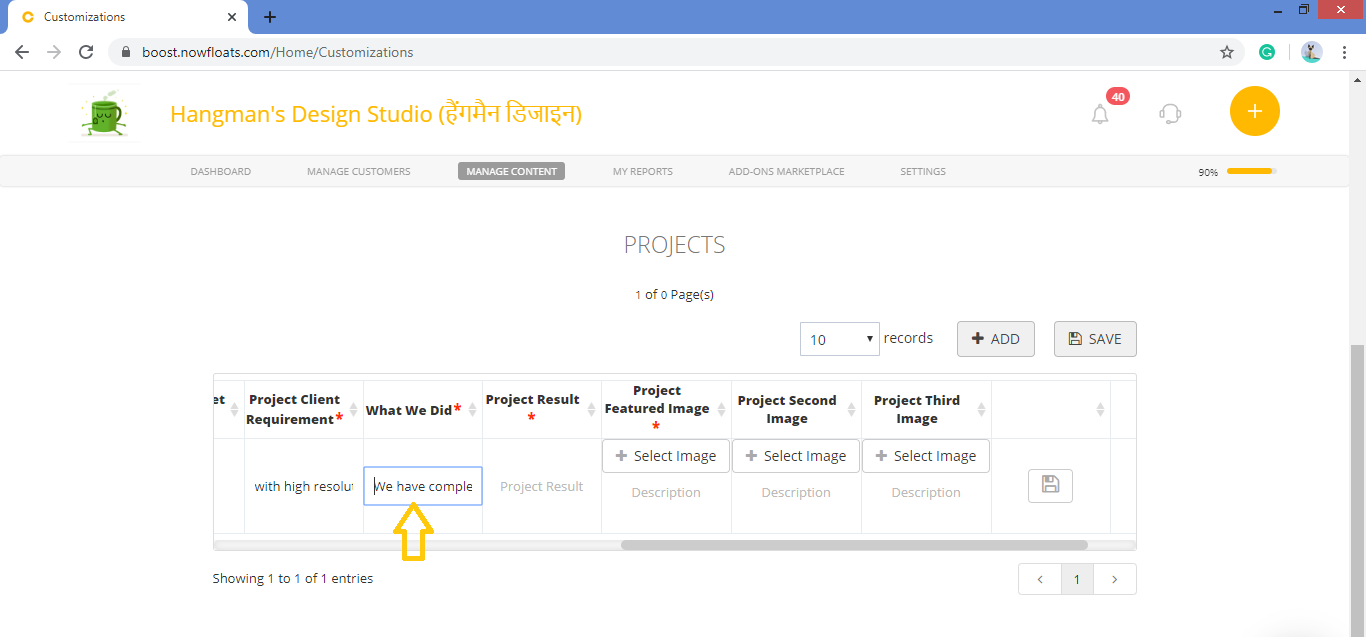
13. In the What We Did box, enter how many phases project has and how the project has been completed.
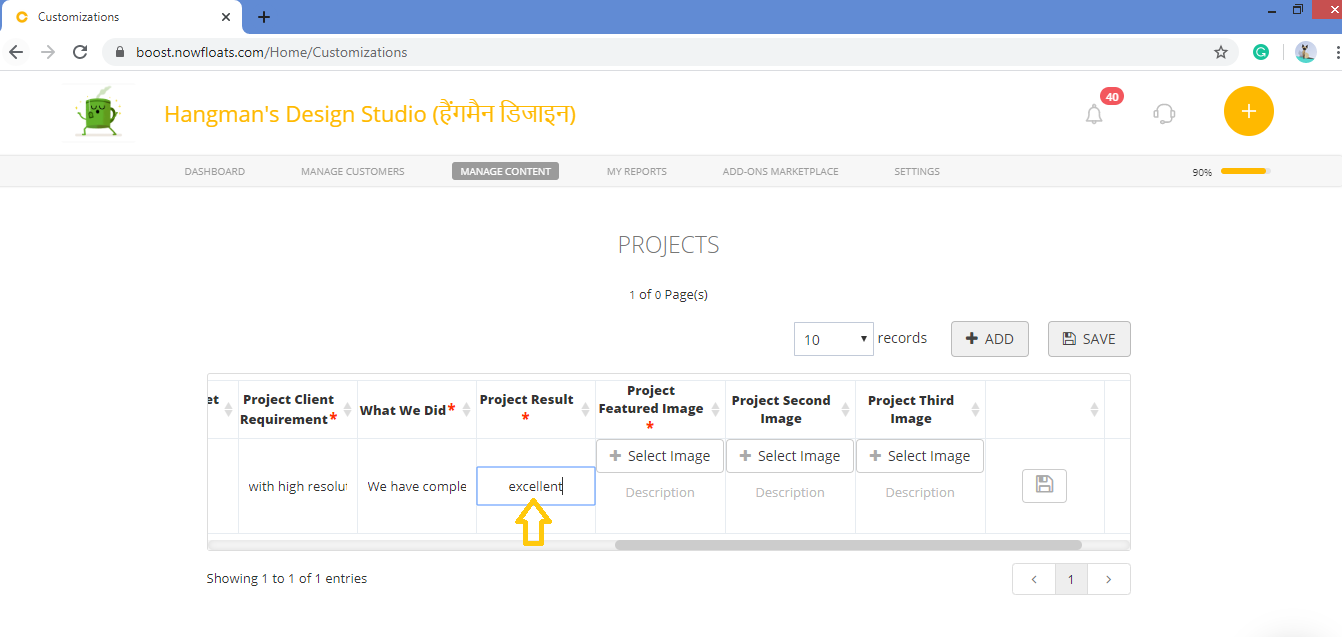
14. In the Project Result box, enter brief about the result of project.
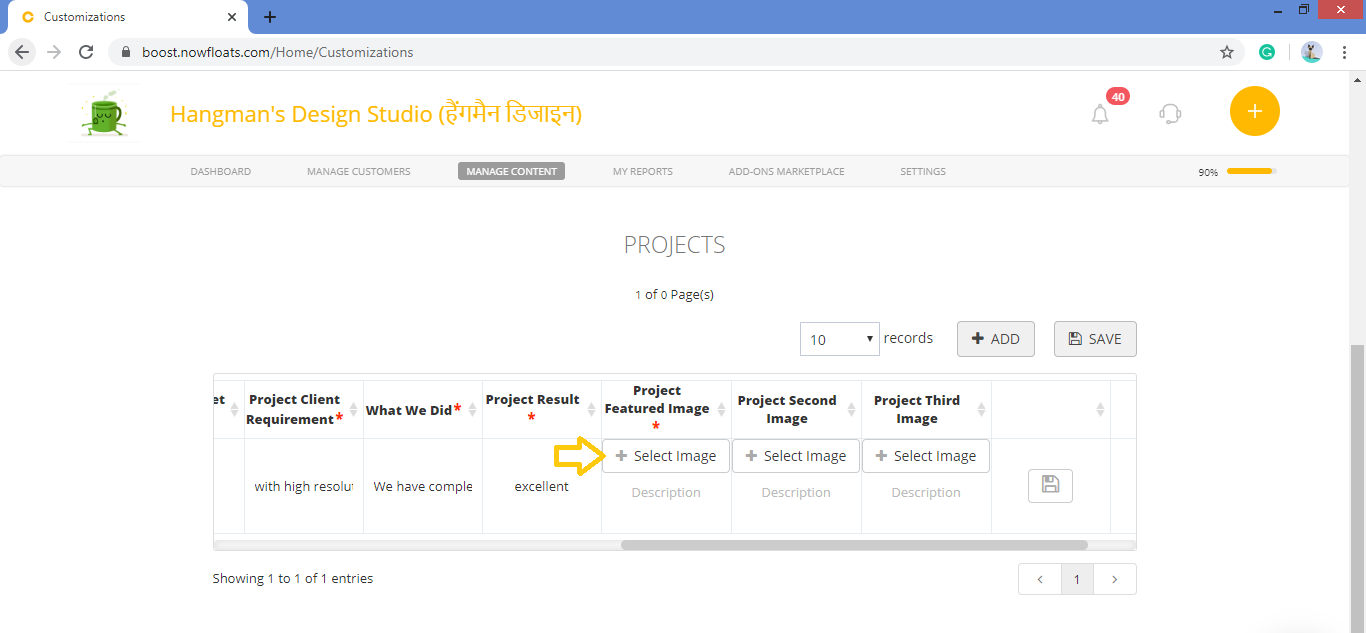
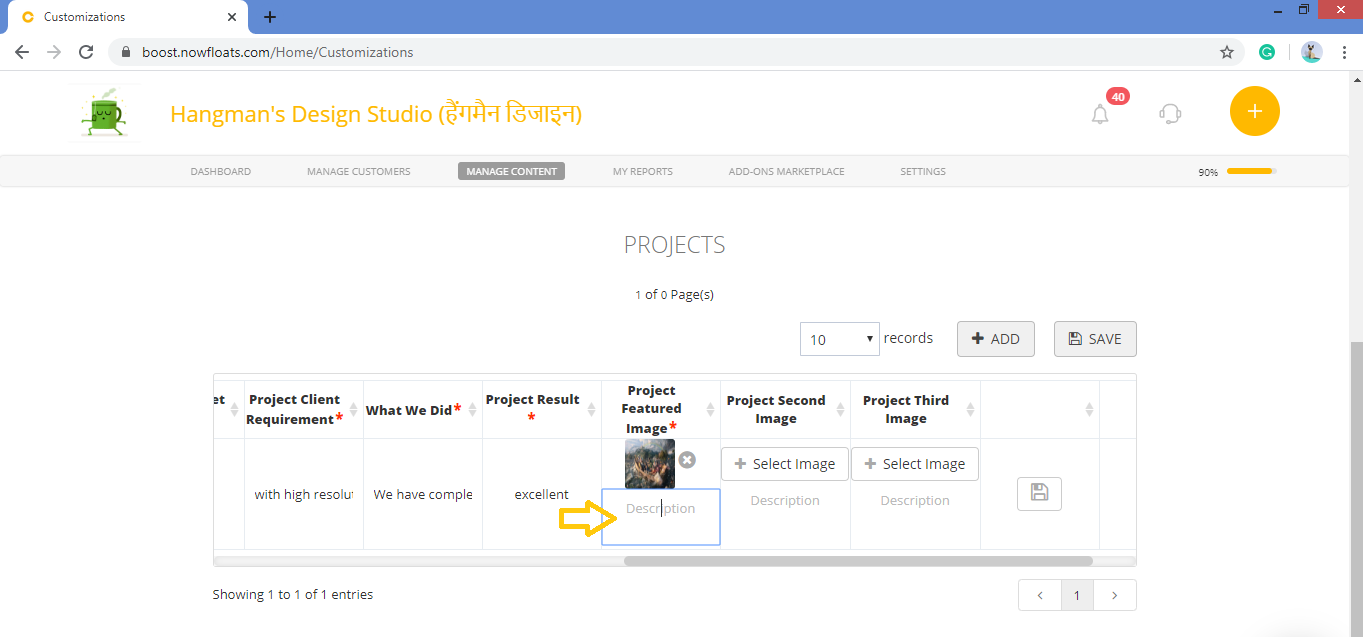
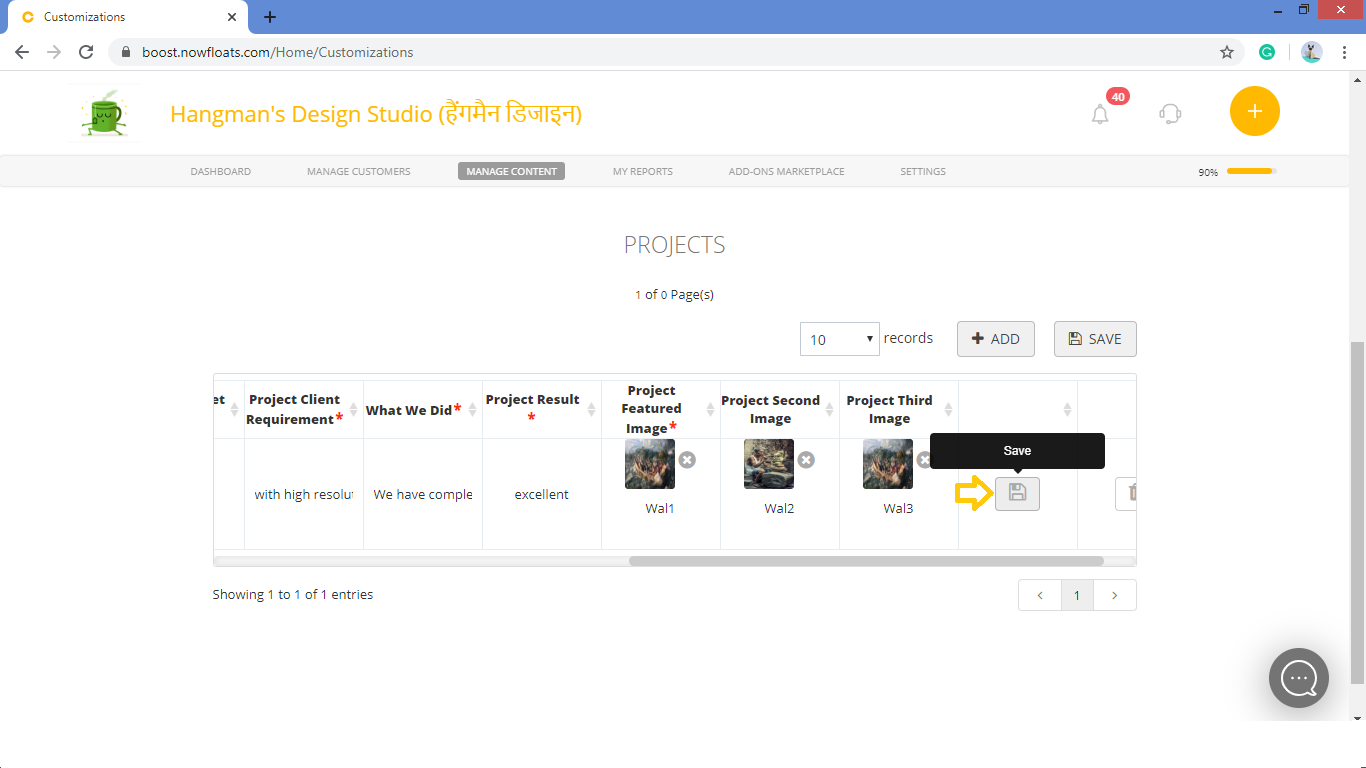
15. Click +Select Image of the Project Featured Image to browse new photo from your computer and enter the description of the Image in Description box.
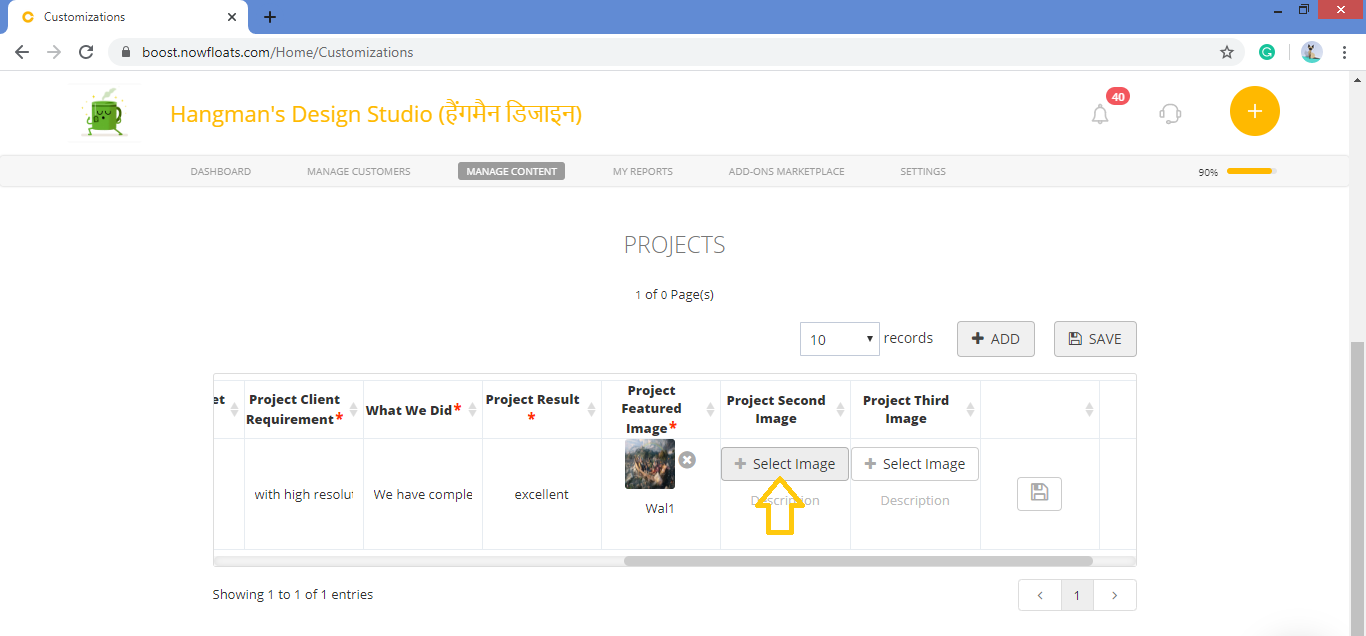
16. Project Second and Third Image is optional.You can follow above step to add images.
17. Click Save.
Comments
0 comments
Please sign in to leave a comment.